How to Seal a Garage Floor with Showroom-Quality Results

Garage floor sealing tends to get put off more than any other home project. Unlike the kitchen or living room, the garage is typically used less, seen less, and more exposed to extreme temperatures. Therefore, people tend to tackle this project last, if at all.
But if you want to get more use out of your garage, or even turn it into something of a showroom, you’ll want to clean and seal it. Sealing the garage floor is also a good idea if you want to increase the value of your home. Of course, not everyone knows how to go about this project. While it’s always wise to consult a professional contractor, it’s also helpful to know how to seal a garage floor yourself. This way, if you hire someone else, you’ll be able to ask the right questions. So let’s take a look at how to seal a garage floor.
1. Clean and Clear the Area
You won’t be able to begin sealing the floor if it’s covered with junk, dirt, or dust. So, before anything, make sure you remove everything from the garage floor. This might be a good time to set up a garage sale to get rid of any unwanted knick-knacks collecting dust. Anything else can simply be moved aside and placed in a safe environment during the sealing and drying process.
Once you’ve rid the space of all items, you’ll probably find a hearty coat of dust caked on the floor. Now’s the time to sweep this away. The cleaner the old floor, the more easily the seal will adhere to it, and the better it will look overall. You might also find old oil spots on the floor, which can be removed by applying mineral spirits, brushing over it, and then wiping away the residue. A professional garage floor sealing company may also use a powerful floor grinder to ensure the floor is clean and smooth. Grinding is also necessary to remove any previous coating material. This will allow the new seal to better bond with the floor.
2. Fill Any Cracks
Due to pressure and temperature changes, most garage floors experience some cracking over time. Before sealing, you’ll want to fill these in to ensure a smooth surface. For these purposes, you can use a concrete caulk or epoxy crack filler material. Make sure the cracks are completely filled and then smoothed over.
3. Select Your Sealing Material and Seal!
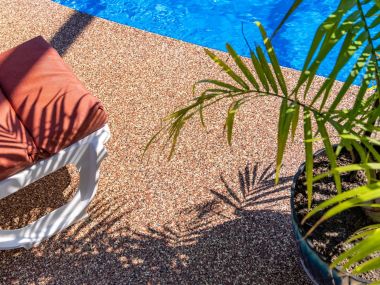
Once the floor is absolutely clean, cracks are filled, and everything is dry, it’s time to start sealing. The most commonly used material for garage floor sealing is epoxy floor paint. However, this isn’t your only option. Some other garage floor sealing options include acrylic, siloxane, and polyurea. Each type of sealer results in a different finish. If you’re really aiming to create a showroom, polyurea seal provides a glossy finish with a textured appeal. This surface is incredibly durable, flexible and easy to clean as well.
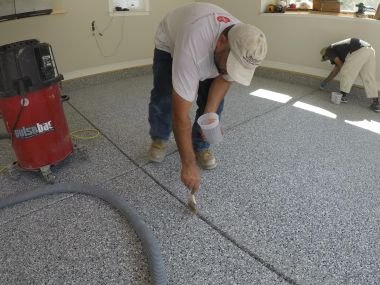
Once you choose your sealer, whether garage epoxy paint, polyurea, or something else, you can begin sealing. This process should be done relatively quickly because sealers only remain active for a limited window of time. For larger garage areas, consider hiring some help to ensure the job gets done within an appropriate amount of time. Use paint rollers to cover one section at a time, making sure the floor receives even coverage throughout. Once the floor is covered, allow it to dry overnight. This will ensure that the floor is safe to walk on the next day. Still, give the floor even more time (a few days) before driving over it with a car or truck.
Truth be told, the prep work typically takes the most time for this project, especially if your garage is filled with stuff and particularly worn down. If you’re unsure of your own abilities, consult a garage floor sealing contractor to give you an estimate, or at least some advice. Anderson Painting specializes in interior and exterior painting, garage floor sealing, power washing, and siding repair. Give us a call at 919-610-1855 or send us an email at info@www.andersonpaintingnc.com for more information, estimates, and more!


