Painting Over Textured Walls: What You Should Know
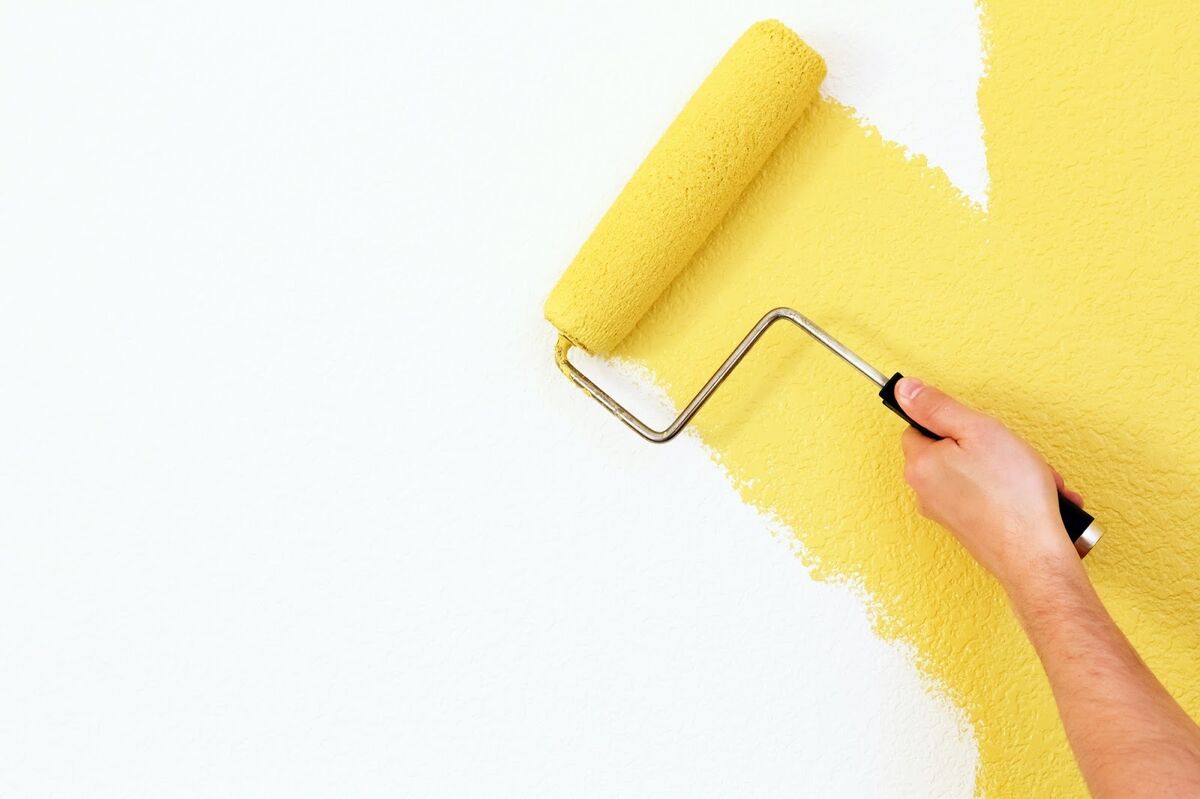
Can You Just Paint Over Textured Walls?
Textured walls aren’t as commonplace as their smooth counterparts, but some homeowners prefer the dynamic, tactile appeal of these surfaces. Like any other painted surface, though, there will come a time when a fresh coat of paint is in order. When that time comes for your textured walls, you’ll want to be prepared to tackle the task at hand. You might make things easier on yourself by hiring a Raleigh painting contractor. But if you’d rather try your hand at painting over your textured walls, here are some key things to know.
What Does a Textured Painted Wall Look Like?
Textured paint comes in many types, including but not limited to popcorn, comb, and orange peel. They each have a unique look. Popcorn texture looks like tiny raised bumps, while comb texture resembles a mane of freshly combed hair. The orange peel texture looks like its namesake: the outer layer of the citrus rind.
If you’re wondering what a textured painted wall looks like, it depends. Paint can enhance or minimize the look of your textured wall, depending on what you’re trying to achieve. You can make the wall texture less obvious by painting neutral hues like white and beige. You can even paint it in bold, dramatic colors to create visual interest in your living space.
If you want to paint over a textured wall without keeping the texture, add a skim coat before painting to achieve a smoother finish. Skim coating is the process of spreading a thin layer of drywall joint compound over the walls to fill in valleys and bumps in the texture. It eliminates the texture, leaving a smooth wall to paint over.
What Kind of Paint Is Best for Textured Walls?
Are you getting ready to shop for painting materials and wondering what kind of paint is best for textured walls?
The best paint for textured walls will depend on various factors. Do you want to emphasize the texture or make it more subtle? If it’s the latter, your best option would be flat or matte paint. It lacks reflective properties, effectively concealing wall imperfections. On the downside, a flat or matte finish does not stand up well to frequent cleaning and can easily get damaged. Gloss or any other paint with a higher sheen will make the texture more obvious, so these are better choices for drawing attention to your wall texture’s finer features.
Another consideration would be the type of wall texture. Some textures are quite smooth, while others have deep grooves and crevices. Smooth surfaces require less viscous paint, while heavily textured walls need thicker paint to achieve proper coverage.
Also, consider the surface material and paint type. Are you painting over drywall, concrete, or plaster? Each of these materials has specific paint requirements. You must use a specially formulated paint for the material you’re painting over to get the best results. In terms of paint type, latex or oil-based paints are ideal. Still, ensure you learn about the pros and cons of each option to make an informed decision.
The world of paint is vast, and the options can get overwhelming. When unsure about the best paint for your textured wall, ask professional painters like Anderson Painting. Our team will help you determine the right wall texture, paint, and color.
How to Paint Textured Walls
Painting textured walls takes more time and effort than painting smooth surfaces due to all the crevices you need to cover. So, how do you paint a textured wall? Below are steps you can follow.
Clean Every Nook and Cranny
Thoroughly cleaning your surfaces is an essential preparation step for any painting project. Painting over textured walls is certainly no exception. As a matter of fact, cleaning textured surfaces typically requires more effort than cleaning smooth ones. This is because the various protrusions and indentations of textured walls make it easier for dust, debris, and other particles to build up. To remove dust and debris, vacuum your walls with a bristle brush attachment from top to bottom, then scrub the walls with a proper cleaning solution and durable sponge.
Don’t Forget to Tape Those Edges
Painter’s tape is a staple for any interior painting project, making it easier to create straight lines and avoid getting paint where you don’t want it. You’ll want to use painter’s tape when painting over textured walls as well, but not your typical fare. In this context, you’ll want to use a product specifically designed for textured surfaces. These specialty painter’s tapes require a two-step process. First, the tape is placed where you want it. Then, you apply a liquid sealing solution to the tape edges to prevent any paint from bleeding past the desired line. While this process is more involved, the results are worth the effort.
Priming Is Essential
Priming is often an important step prior to painting, but it’s necessary for painting over textured walls. The aforementioned nooks and crannies present on a textured surface can interfere with paint adhesion. Priming the surface will aid in paint adhesion and act as an initial coat. Use a deep-pile roller for this part of the process to cover all those tricky spaces.
You’ll Need More Paint Than Usual
If nothing else, know that painting over textured walls will require more paint than is necessary for painting a smoother surface. As a general rule of thumb, purchase twice as much paint as you would normally; you might not end up using all of it, but it’s better to have some paint left over than to run out during the process. Apply the paint generously and plan on applying two coats.
You Might Miss a Spot
Even with all that priming and multiple coats of paint, you might find that certain portions of your wall don’t blend with the rest. This is somewhat normal when it comes to painting over textured surfaces, so don’t fret. Instead, take the time to examine your initial results in different lighting setups and at different angles. If you missed anything or notice that any area is lacking, use your leftover paint (assuming you have some) to touch up those spots.
Painting Over Textured Walls Can Be Rough
You now know how to paint textured walls. But remember, every DIY paint job comes with its challenges, especially if you’re tackling a textured surface. That said, with the proper approach and equipment, you can paint over your textured walls like a pro. If you’d rather have an actual pro help you out, though, don’t hesitate to hire reliable Raleigh painters.
At Anderson Painting, our experts are equipped to coat any type of surface to our customers’ satisfaction. To learn more about us and all we do, call today at 919-610-1855 or email us at info@andersonpaintingnc.com! You can also request a free estimate.
